
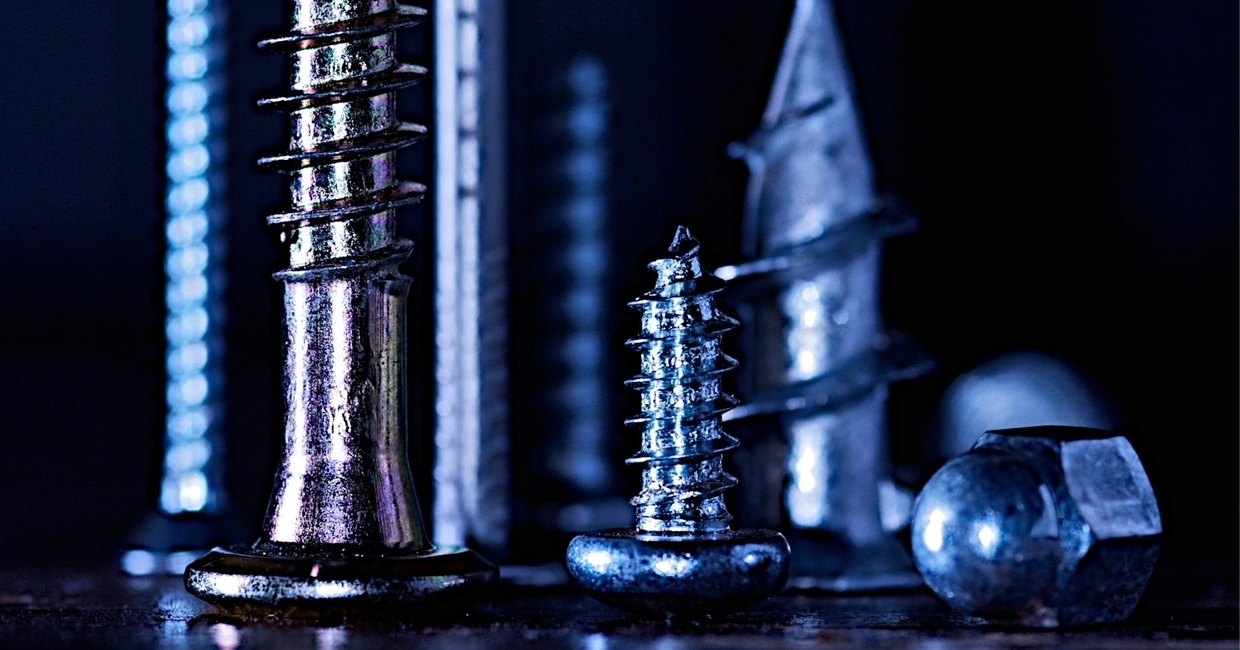
Confirmat screws are one-piece furniture screws designed for the perpendicular joining of wood-based panels, such as MDF, plywood, and standard particleboard, writes Tomasz Rezik – their unique geometry guarantees high rigidity in the bodies of cabinets, shelving units, and drawers. Here, Tomasz presents a guide to help users correctly select the dimensions of these fasteners, explains why they require specialised three-step drill bits, and outlines how to avoid damaging the laminate edge during assembly …
Confirmat screws are standardised assembly screws with a cylindrical shank, a deep thread profile, and a characteristic flat head. The specific design of this fastener prevents the connection from tearing out of the fragile structure of the particleboard. The wide thread pitch without a sharp cutting edge gently bites into the pressed wood chips, while the upper, smooth part of the shank (the neck) is responsible for pulling the clamped element tightly to the main body.
In the furniture industry, the most common variants have a diameter of 5 and 7mm (such as the popular 7 x 50mm size). The head features a drive recess – usually hexagonal (Allen, HEX 4) or cross-recessed (Pozidriv, PZ3) – which allows for the application of torque without the risk of stripping the socket. As advanced confirmat screws and furniture connectors, they allow for the repeated assembly and disassembly of segments without a drastic loss of the hole's load-bearing capacity.
A confirmat screw primarily differs from standard wood screws thanks to its blunt end. This design requires the pre-drilling of a pilot hole. Forcing the screw in without a pilot hole inevitably leads to the delamination of the furniture board's binder and permanent damage to the front or cabinet body.
Application of confirmat screws in furnituremaking
These massive screws form the load-bearing spine for box and frame structures. They are used wherever the fastened planes intersect at a 90-degree angle, and the joint must withstand significant shear and pull-out loads.
Joining furniture elements
The primary task of these fasteners is to join the vertical side panels of cabinets with horizontal top and bottom panels, as well as fixed partitions. The screw enters perpendicularly through the flat surface of the first board, axially penetrating the narrow edge of the second board. The resulting connection features zero lateral play and completely stiffens the cabinet body. In professional furniture production, the assortment of the Marcopol brand and similar fastening solutions replace complex mortise-and-tenon or glued joints, significantly accelerating the technological process on the assembly floor.
Use in particleboards and MDF
Particleboards and MDF are highly sensitive to mechanical expansion on their side edges. The thick core structure of the confirmat screw, combined with a sparse, flat thread pitch, distributes the pressure forces over a larger internal surface area of the wood-based material. This design prevents the core of the board from crumbling from the inside. Screws with a thin core (such as universal screws) would simply tear out of the MDF under the weight of loaded shelves, whereas the thick shank anchors itself firmly against the layers of glued fibers.
Impact on furniture durability
The deep embedding of the fastener provides the furniture with torsional rigidity, preventing the cabinet body from 'wobbling' once assembled. The durability of the assembly joint stems directly from the precisely selected length of the unthreaded neck – this allows the screw to pass freely through the first panel and forcefully clamp it to the target side panel. Unlike joints made with staples or polymer glue, the threaded structure enables safe disassembly during furniture relocation, after which the cabinet can be reassembled while maintaining the original clamping force.
Assembly of confirmat screws
Executing an aesthetically pleasing joint requires strict adherence to the pre-drilling procedure and the correct selection of the power tool's tightening torque. Furniture boards are easily prone to mechanical damage, which is why every operation relies on the prior preparation of a technological hole.
The safe assembly process is divided into the following steps:
1. Positioning the panels: Assembling two elements at a 90-degree angle and rigorously securing their edges with corner clamps. Shifting the planes by a millimetre prior to drilling results in the irreversible ruin of the joint.
2. Pre-drilling: Introducing the three-step drill bit perpendicularly to the laminate surface. Drilling is performed to the full depth, simultaneously piercing the first board and entering the narrow edge of the second in a single pass.
3. Power tool tightening: The drill/driver should be set to the lowest permissible torque (the clutch in position 3-5 depending on power). The confirmat screw is drawn in slowly, maintaining axial alignment, until the countersunk head is flush with the laminate edge.
4. Using cover caps: A dedicated plastic cover cap, colour-matched to the board decor, is placed over the seated drive recess (HEX or PZ), resulting in a smooth external surface.
An assembly error that leads to furniture failure is tightening the screws without using the clutch on the drill (in drilling mode). The steel thread will easily 'strip' the soft chips of the MDF. The hole thus loses its entire load-bearing capacity, and the only remaining repair method is gluing in a wooden dowel and re-drilling.
Drill bits for confirmat screws
To prepare the correct hole, the use of a three-step drill bit is essential. This is a specialised cutting tool that, during a single plunge of the spindle, forms the target diameters in three independent assembly zones, perfectly mirroring the geometry of the fastener.
Traditional wood drill bits (such as spade or twist bits) drill a hole with a constant diameter. This would require three tool changes to prepare a single fastening point, which is unacceptable in professional settings.
A properly configured three-step drill bit performs the following tasks:
Step I (narrowest): Drills a deep pilot channel for the thread core in the edge board. This prevents the element from splitting when the thick screw is inserted.
Step 2 (intermediate): Widens the hole in the first board to the diameter of the smooth neck. This guarantees zero resistance during joining and improves the clamping effect of the panels.
Step 3 (widest): Countersinks a conical recess at the very top of the laminate, allowing the flat head to be hidden without chipping the delicate melamine coating.
Some professional drill bits with a cylindrical shank feature a depth stop collar locked with an Allen key. This allows for the perfect positioning of the countersinking depth for the head, protecting the operator from making the chamfer too deep, which would prevent the cover cap from staying properly in place.